


Table of contents
Introduction
This is a step-by-step guide on how to migrate your .NET Framework project to .NET 6+.
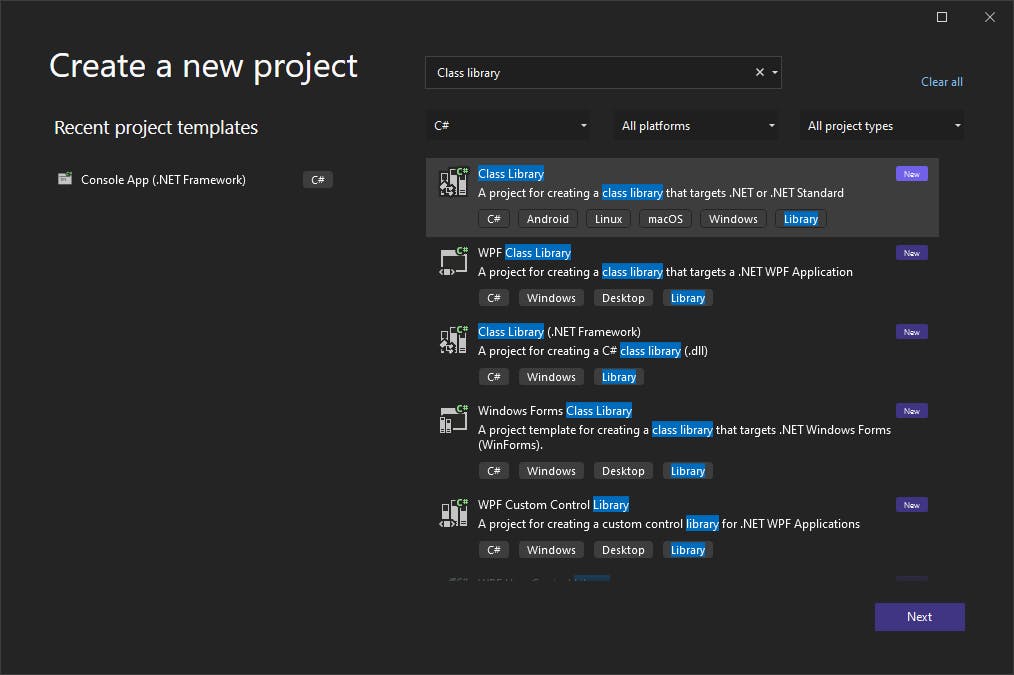
Step 1: Migrating to an SDK-style project
This process must be applied to each of your solution projects (does not apply to C++/CLI projects, see msdoc).
The cheap and dirty way
The expensive and proper way
This can be done over an extended period, as these changes do not block production; moreover, this is an opportunity to learn how the SDK-style projects work, and to clean up your project definition.
I recommend starting with general-purpose libraries, with little to no project references, for the simplest possible migration experience.
Let's say, we are migrating a project called Core, which is responsible for our business logic.
Preparations
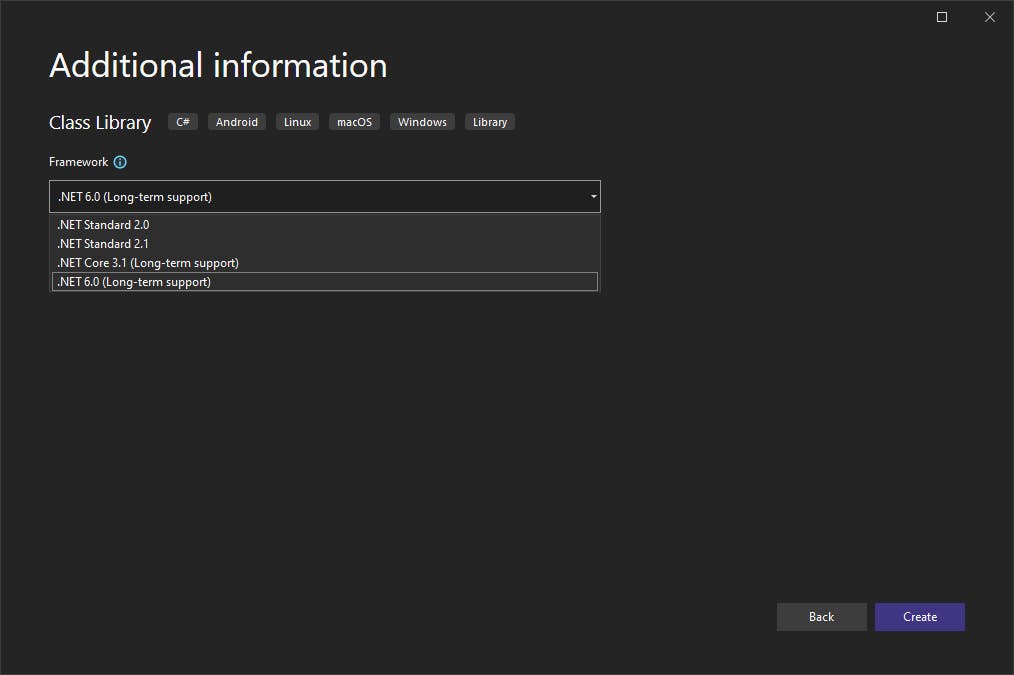
- Create a new temporary SDK-style project (.NET Core/6+) with the same name post-fixed with, e.g., a number -
Core1.- You'll use this project to safely build and test your migration
- The tested configuration from this project will be used as a replacement for the original project
- Once finished, this project shall be deleted
- Copy the file and folder structure from the old project to the new one
- I suggest copying via the IDE. Using the file explorer might render an incorrect file structure along with removed, but not deleted files
- Double click your new
Core1project to open its settings, or right-click and select Edit project - Unload your non-SDK-style
Coreproject - Double click your unloaded
Coreproject to open its settings, or right-click and select Edit project
The concrete framework version does not matter, as you will be replacing it manually in the next step:
Putting the two project settings windows side-by-side is recommended
SDK-style project on the left, and the classic on the right:
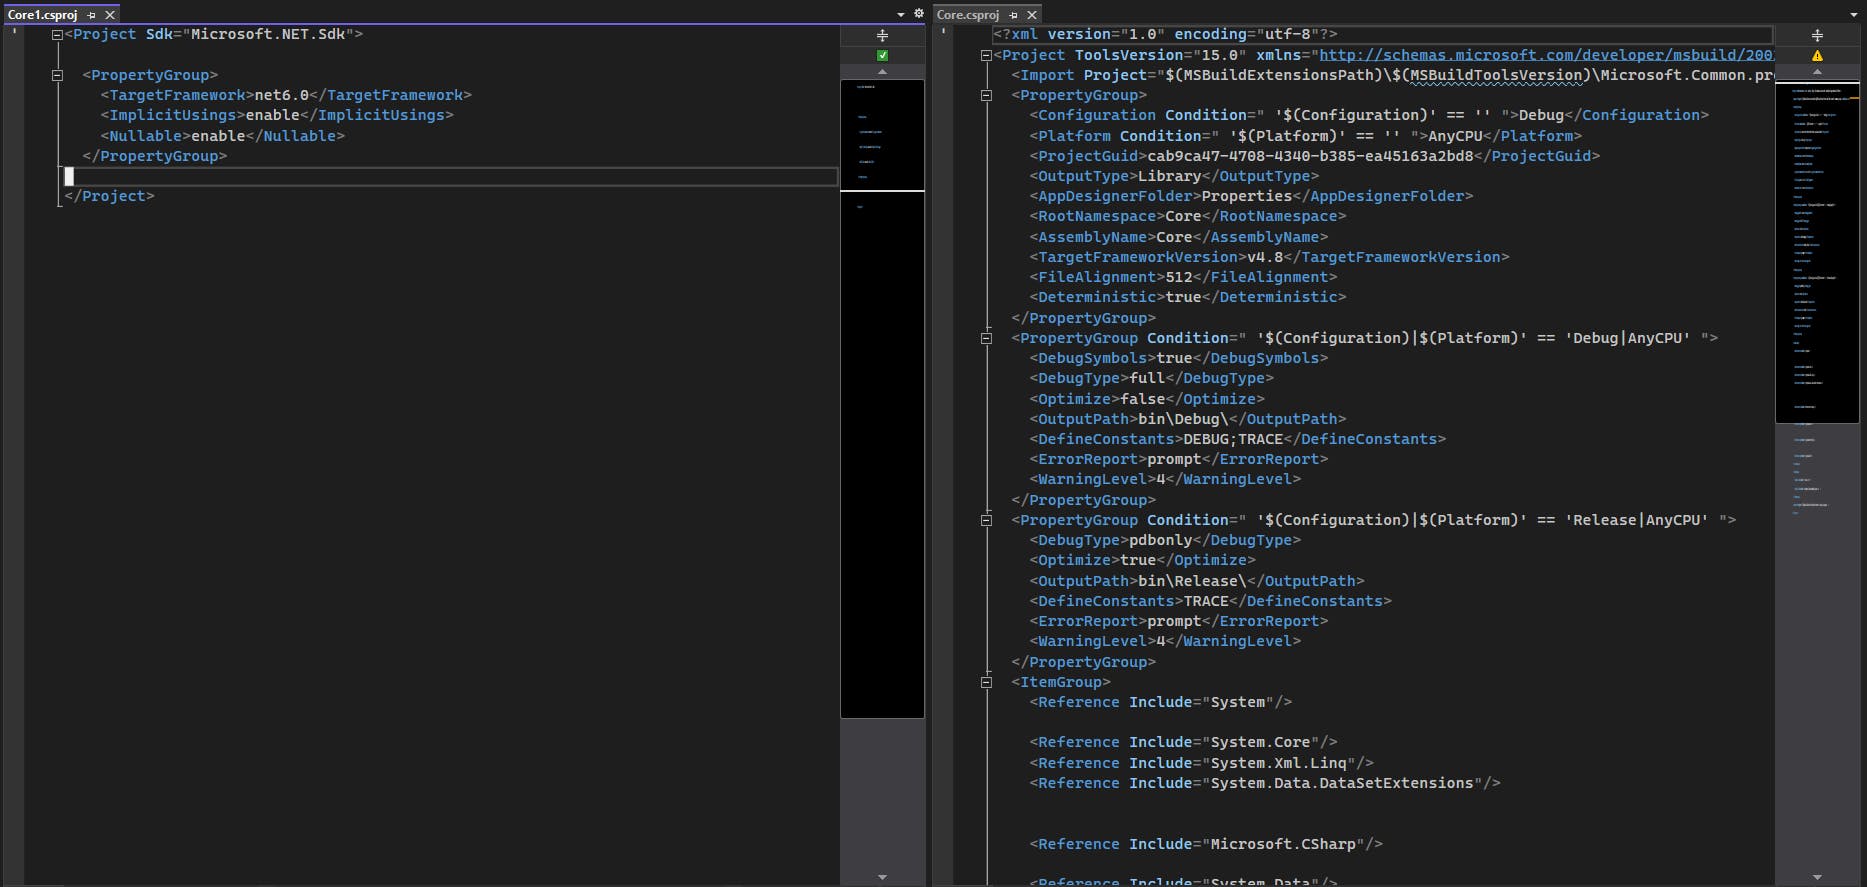
Target .NET Framework 4.8
Modify the TargetFramework of the Core1 project to net4.8 and remove all other tags for now:
<!-- Core1 -->
<Project Sdk="Microsoft.NET.Sdk">

  <PropertyGroup>
    <TargetFramework>net4.8</TargetFramework>
  </PropertyGroup>

</Project>
Add references
Next, reference all projects that your old project referenced, if any. You can copy this from the old project settings. It should look like this (look for the ProjectReference tag):
<!-- Core -->
<ItemGroup>
  <ProjectReference Include="..\Helpers.csproj">
    <Project>{e049a65d-26e7-43a4-b2c2-6bcdac648b15}</Project>
    <Name>Composition</Name>
  </ProjectReference>
</ItemGroup>
Copy it over to the Core1 project and modify to look like this:
<!-- Core1 -->
<ItemGroup>
  <ProjectReference Include="..\Helpers.csproj"/>
</ItemGroup>
Or you can add missing references to projects, assemblies, shared projects, or NuGets via the IDE - do what suits you best.
If you decide to do this manually, then this table should help you find the relevant tags and copy them over correctly:
| Reference type | Reference tag |
| Project | ProjectReference |
| Assembly | Reference |
| Shared project | Import |
| NuGet package | Reference |
Build configurations
Next, you can copy the build configurations from your Core project to Core1.
Your build configurations might look something like this (especially when you have multiple targeting platforms):
<!-- Core -->
  <PropertyGroup Condition=" '$(Configuration)|$(Platform)' == 'Debug|AnyCPU' ">
    <DebugSymbols>true</DebugSymbols>
    <DebugType>full</DebugType>
    <Optimize>false</Optimize>
    <OutputPath>..\bin\</OutputPath>
    <DefineConstants>DEBUG;TRACE</DefineConstants>
    <ErrorReport>prompt</ErrorReport>
    <WarningLevel>4</WarningLevel>
    <Prefer32Bit>false</Prefer32Bit>
    <LangVersion>latest</LangVersion>
  </PropertyGroup>
  <PropertyGroup Condition=" '$(Configuration)|$(Platform)' == 'Release|AnyCPU' ">
    <DebugType>pdbonly</DebugType>
    <Optimize>true</Optimize>
    <OutputPath>..\bin\Release\</OutputPath>
    <DefineConstants>TRACE</DefineConstants>
    <ErrorReport>prompt</ErrorReport>
    <WarningLevel>4</WarningLevel>
    <Prefer32Bit>false</Prefer32Bit>
    <LangVersion>latest</LangVersion>
  </PropertyGroup>
  <PropertyGroup Condition="'$(Configuration)|$(Platform)' == 'Debug|x64'">
    <DebugSymbols>true</DebugSymbols>
    <OutputPath>bin\x64\Debug\</OutputPath>
    <DefineConstants>DEBUG;TRACE</DefineConstants>
    <DebugType>full</DebugType>
    <PlatformTarget>x64</PlatformTarget>
    <ErrorReport>prompt</ErrorReport>
    <CodeAnalysisRuleSet>MinimumRecommendedRules.ruleset</CodeAnalysisRuleSet>
    <LangVersion>latest</LangVersion>
  </PropertyGroup>
  <PropertyGroup Condition="'$(Configuration)|$(Platform)' == 'Release|x64'">
    <OutputPath>..\bin\Release\</OutputPath>
    <DefineConstants>TRACE</DefineConstants>
    <Optimize>true</Optimize>
    <DebugType>pdbonly</DebugType>
    <PlatformTarget>x64</PlatformTarget>
    <ErrorReport>prompt</ErrorReport>
    <CodeAnalysisRuleSet>MinimumRecommendedRules.ruleset</CodeAnalysisRuleSet>
    <LangVersion>latest</LangVersion>
  </PropertyGroup>
You can modify the copied build configuration after copying:
<!-- Core1 -->
  <PropertyGroup Condition=" '$(Configuration)|$(Platform)' == 'Debug|AnyCPU' ">
    <OutputPath>..\bin\</OutputPath>
  </PropertyGroup>
  <PropertyGroup Condition=" '$(Configuration)|$(Platform)' == 'Release|AnyCPU' ">
    <OutputPath>..\bin\Release\</OutputPath>
  </PropertyGroup>
  <PropertyGroup Condition="'$(Configuration)|$(Platform)' == 'Debug|x64'">
    <OutputPath>bin\x64\Debug\</OutputPath>
  </PropertyGroup>
  <PropertyGroup Condition="'$(Configuration)|$(Platform)' == 'Release|x64'">
    <OutputPath>..\bin\Release\</OutputPath>
  </PropertyGroup>
Additionally, you could simplify your build configs if you output to the same path for different platforms:
<!-- Core1 -->
  <PropertyGroup Condition=" '$(Configuration)|$(Platform)' == 'Debug|AnyCPU' ">
    <OutputPath>..\bin\</OutputPath>
  </PropertyGroup>
  <PropertyGroup Condition="'$(Configuration)|$(Platform)' == 'Debug|x64'">
    <OutputPath>bin\x64\Debug\</OutputPath>
  </PropertyGroup>
  <PropertyGroup Condition="'$(Configuration)' == 'Release'">
    <OutputPath>..\bin\Release\</OutputPath>
  </PropertyGroup>
If you have multiple build platforms, then add the <Platform> tag with the respective platforms:
<!-- Core1 -->
<Project Sdk="Microsoft.NET.Sdk">

  <PropertyGroup>
    <TargetFramework>net4.8</TargetFramework>
    <Platforms>AnyCPU;x64</Platforms>
  </PropertyGroup>

  <ItemGroup>
    <ProjectReference Include="..\Helpers.csproj"/>
  </ItemGroup>

  <PropertyGroup Condition=" '$(Configuration)|$(Platform)' == 'Debug|AnyCPU' ">
    <OutputPath>..\bin\</OutputPath>
  </PropertyGroup>
  <PropertyGroup Condition="'$(Configuration)|$(Platform)' == 'Debug|x64'">
    <OutputPath>bin\x64\Debug\</OutputPath>
  </PropertyGroup>
  <PropertyGroup Condition="'$(Configuration)' == 'Release'">
    <OutputPath>..\bin\Release\</OutputPath>
  </PropertyGroup>
</Project>
Pre and Post build actions
If any build actions are present in your project, copy them over as is to your Core1 project.
Target framework folder
Building an SDK-style project will, by default, output it to the build path you specified, post-fixed with the target framework.
For example, you have a project set to target net4.8 and the output path set to folder/bin/Debug for the Debug configuration. Building the project will result in the output being placed into the respective target framework folder: folder/bin/Debug/net4.8/.
To disable this, add the following tag to the top PropertyGroup:
<AppendTargetFrameworkToOutputPath>false</AppendTargetFrameworkToOutputPath>
Custom AssemblyInfo
Building the project might result in errors for duplicate definitions within the AssemblyInfo file. This is due to the assembly being generated automatically. To disable that, add the following tag to the top PropertyGroup:
<GenerateAssemblyInfo>false</GenerateAssemblyInfo>
Otherwise, you could take advantage of the automatically generated AssemblyInfo and specify the generated value within the top PropertyGroup.
Testing the copied assembly
Build your Core1 project and make sure you have no errors. If you see errors, such as incorrect references due to an incorrect name of the assembly (Core1 x Core), then you can rename those in the copied assembly to Core1, build the project, and check for errors once more.
If no errors are present, you can move on to the next step. Otherwise, please see my other articles for fixing specific issues (WORK IN PROGRESS).
Completing the migration
- Replace the
Coresettings file with the contents fromCore1 - Save the
Coreproject - Reload the
Coreproject - Build the
Coreproject - Remove and delete the
Core1project
Congratulations, you have successfully migrated to an SDK-style project! Now, do the same for every other project in your solution.